We highly recommend assembling the rack with no glue first, just to get a feel for how all the pieces fit together and then glue them together once you’re familiar with the process.
A standard white wood-glue is best for gluing as it gives you more time to fit all the pieces together as compared to using crazy glue. After gluing pieces together you can use masking tape to hold things together tightly while the glue dries.
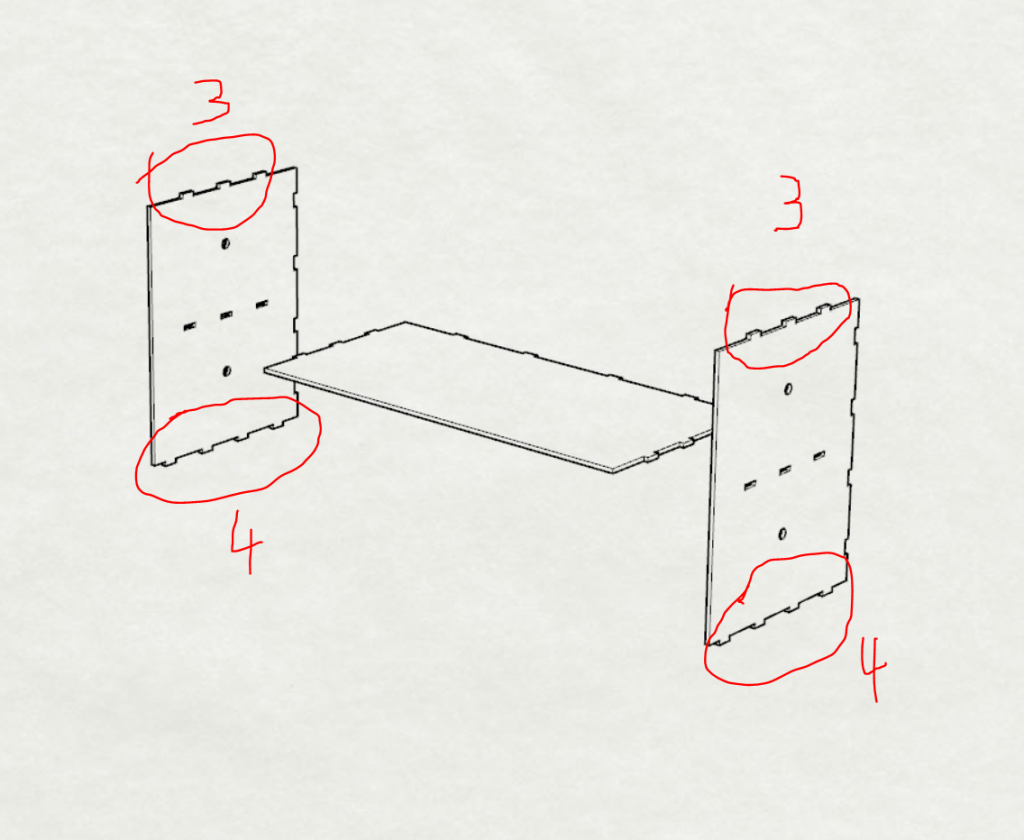
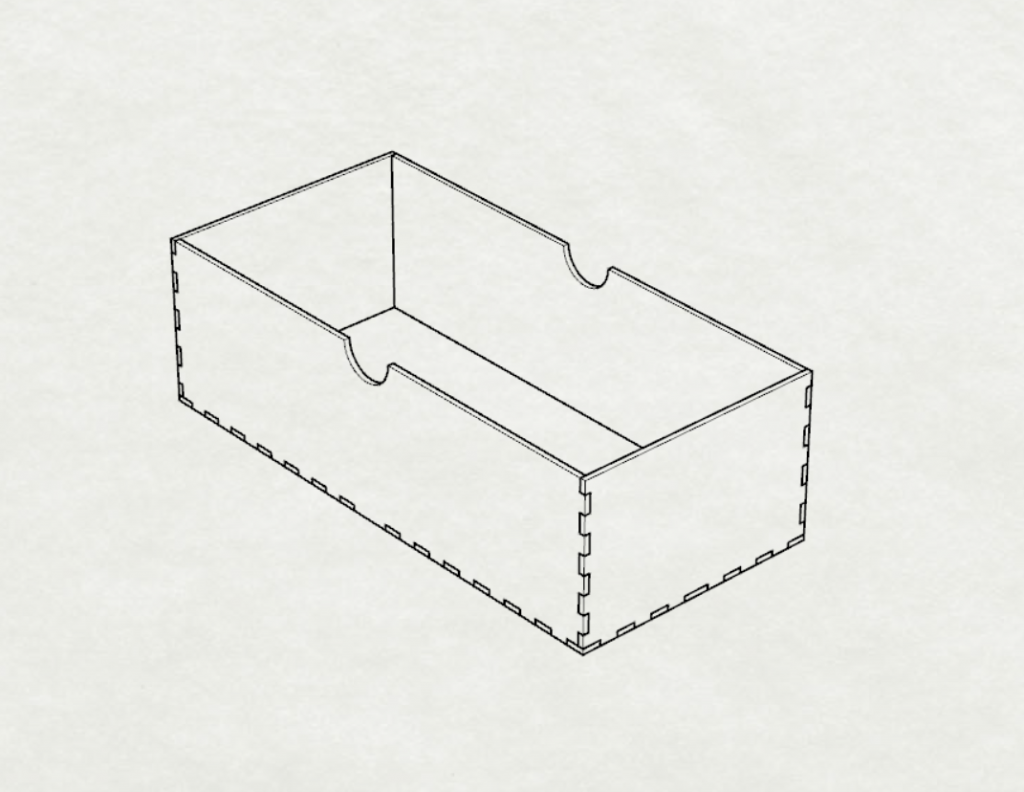
Also notice that the horizontal separator has tabs pointing towards the back of the unit.
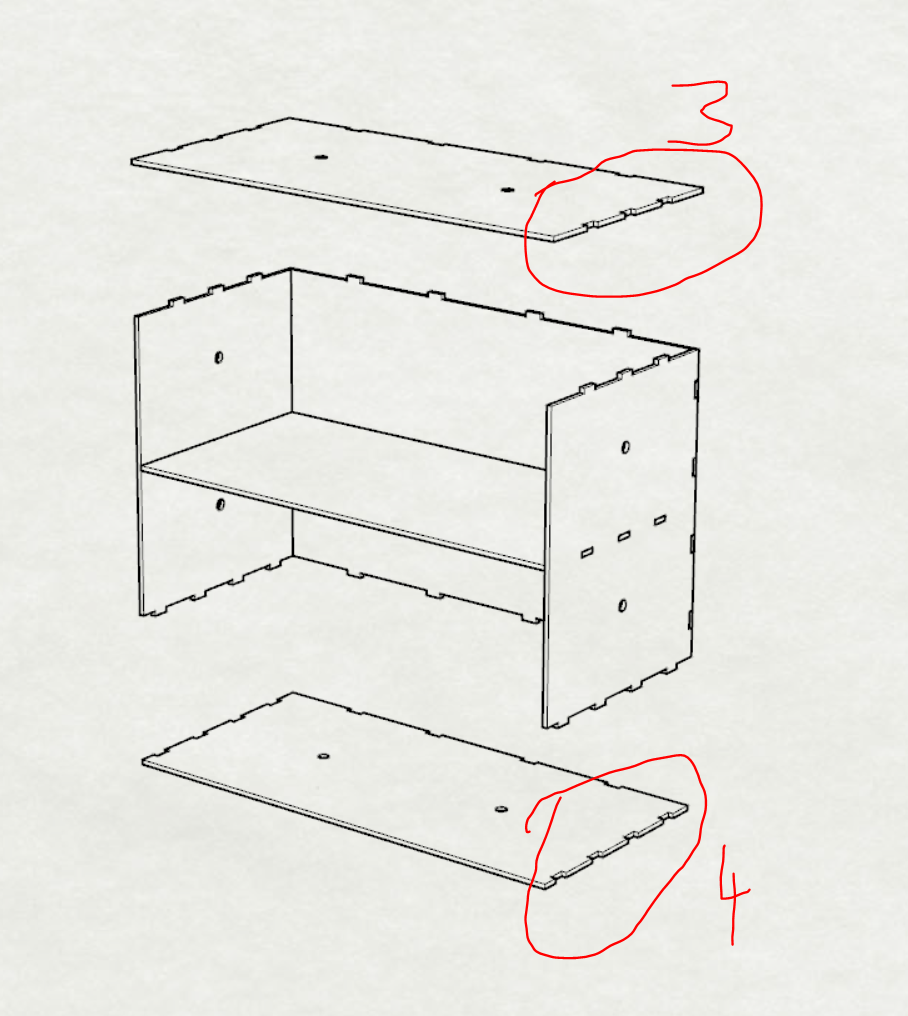
At this point you have the main part of the rack assembled without glue. It would now be a good time to take the pieces apart, add glue and re-assemble the rack. I highly recommend using some masking tape to hold the outer edges together while the glue dries. That way you’ll get a snug fit without any gaps.
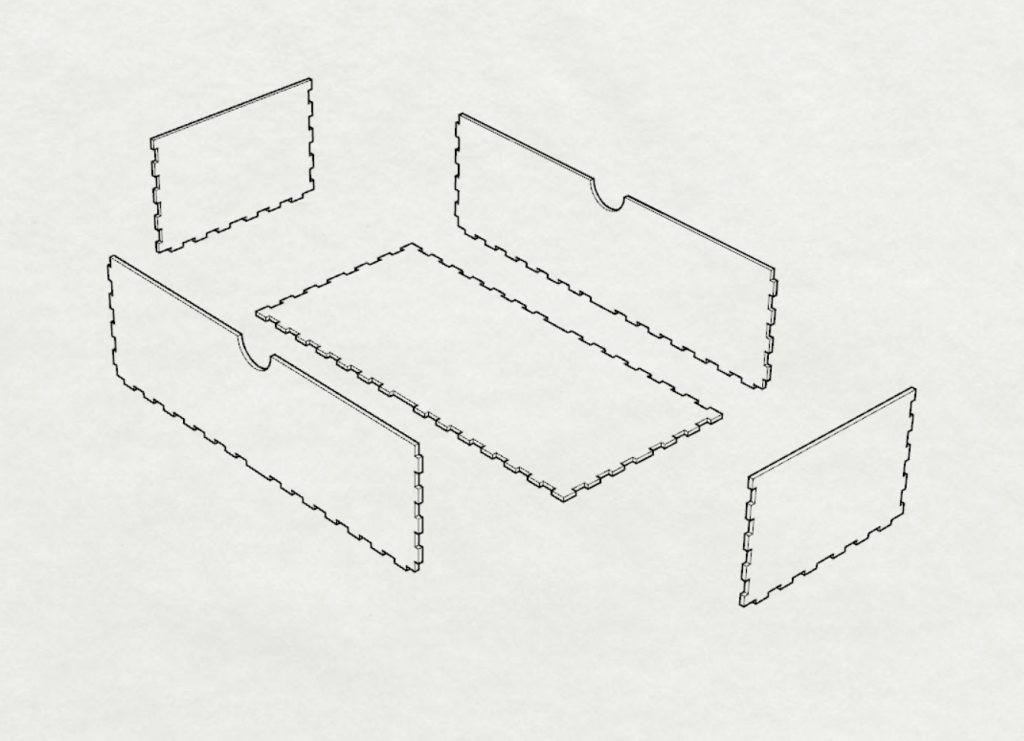
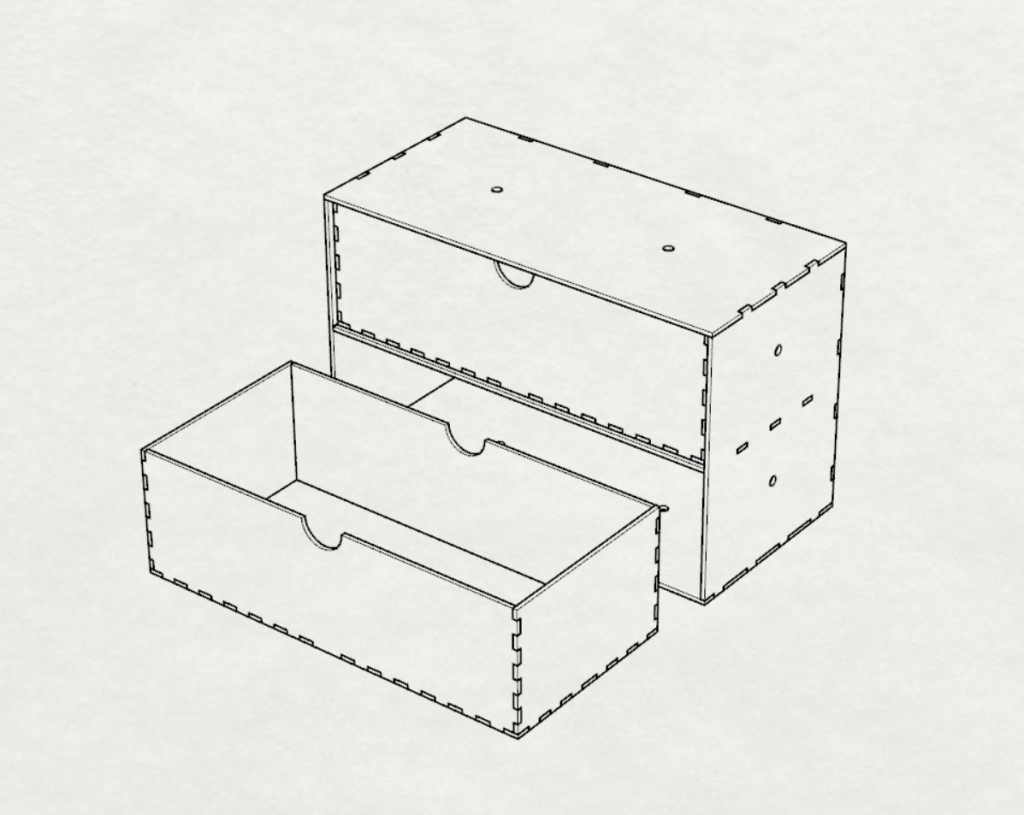
*** Please note that the sides and bottom of the unit has pre-cut magnet holes for optional magnets that can be added in to hold multiple racks together.