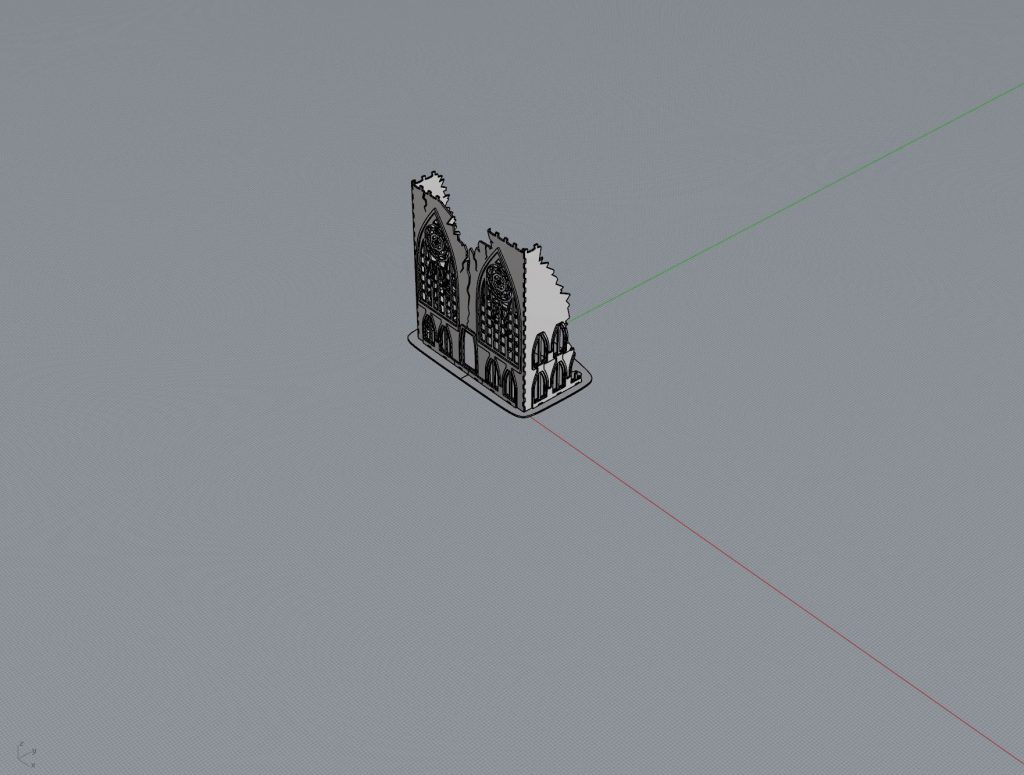

Assembly Instructions
PART 1
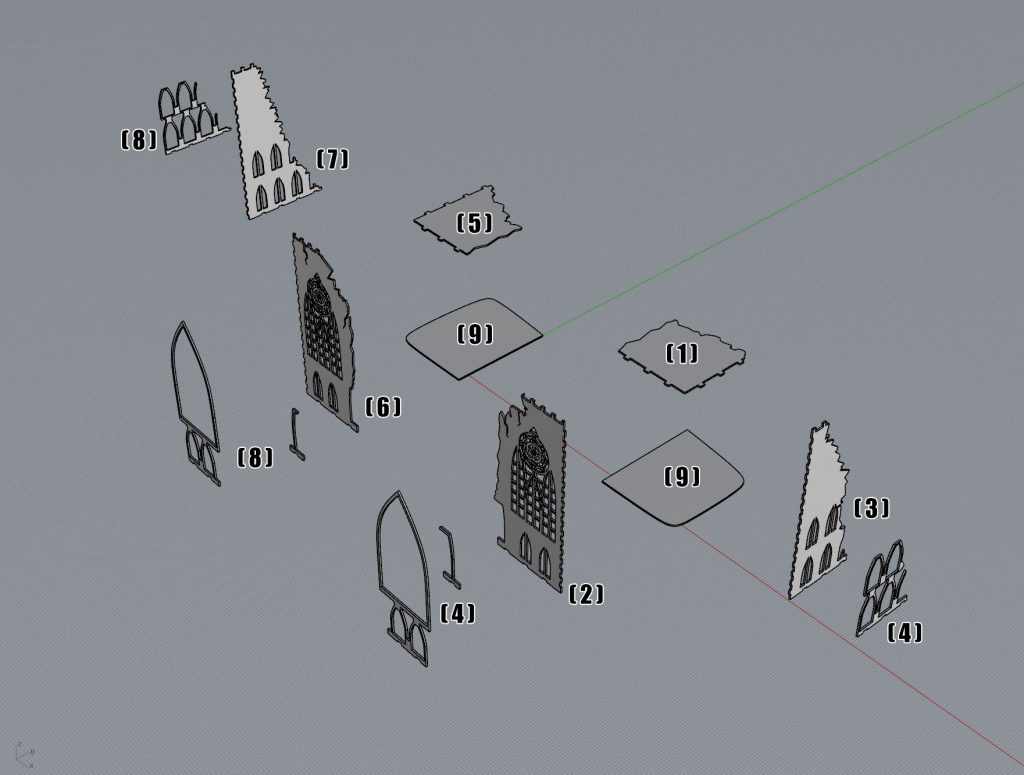
- Place the base pieces (9) aside for now. They will be attached in PART 2.
- Place right floor piece (1) flat on your working surface.
- Apply wood glue to the bottom tabs of right floor piece (1) as well as the side tabs on the front/right wall pieces (2) and (3).
- Attach front/right wall pieces (2) and (3) to the bottom piece (1), aligning the tabs properly. Use a few small strips of masking tape to hold the pieces together while the glue dries a bit.
- Apply a small amount of wood glue on one side of the outer wall pieces (4) that will mount flush against pieces (2) and (3).
- Attach the outer wall pieces (4) to the front/right wall pieces (2) and (3). Use a few small strips of masking tape to hold pieces together while the glue dries a bit.
- Repeat the same procedure for the left side of the building – using pieces (5), (6), (7), (8).
- Once the glue is dry, remove the masking tape and proceed to Part 2.

PART 2
- Your building comes with a 2 part base (9) which the bottom of each side of the building can be glued to (optionally).
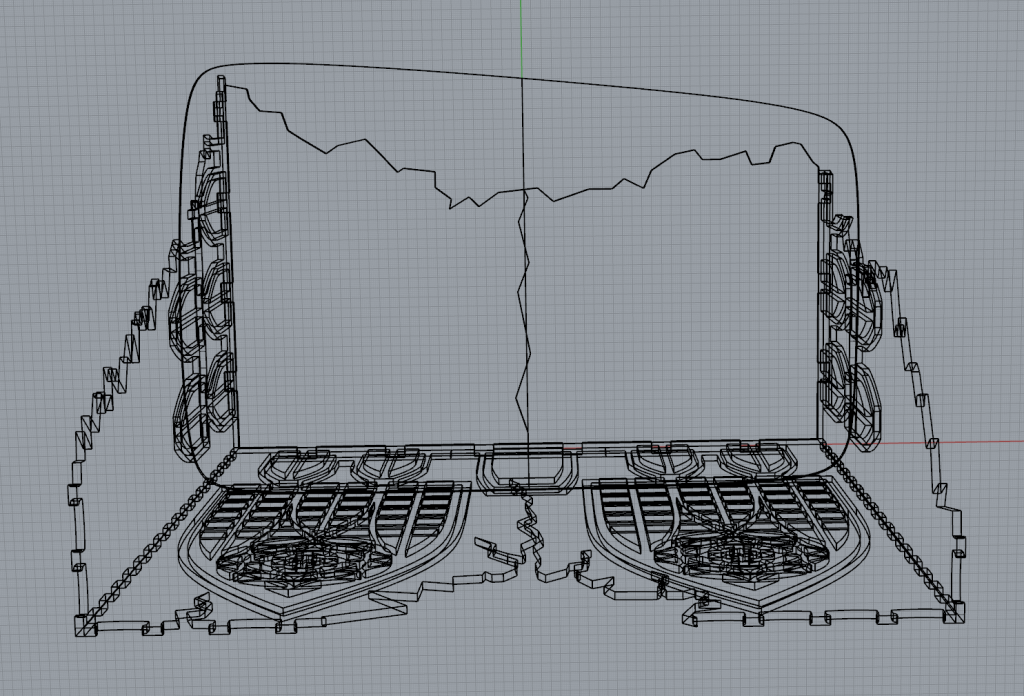
- Before gluing the assembled sides of the building to the base pieces, align the buildings with their cracked floors with the center of the base pieces as shown in the diagram above.
- By gluing the building floors to the base pieces, as shown in the diagram above, some parts of the floor pieces will stick out paste the straight center line of the base pieces and allow the two parts of the building to be aligned perfectly side by side to look like one big building with a crack down the middle – OR – utilized as two separate corner pieces of terrain.